티스토리 뷰
개요
스파크펀에서 만든 APDS9960은 간단하게 손의 움직임이나 컬러를 측정할 수 있습니다.
아래의 영상을 보면 손의 움직임을 OLED에 화살표로 표현하는 것을 볼 수 있습니다.
제스처 센서는 소형의 UV와 IR이 내장되어 있고 각각 다른 방향으로 총 4개의 다이오드를 달아서 값을 측정합니다.
이 센서는 삼성의 갤럭시 S5에도 내장되었다고 합니다.
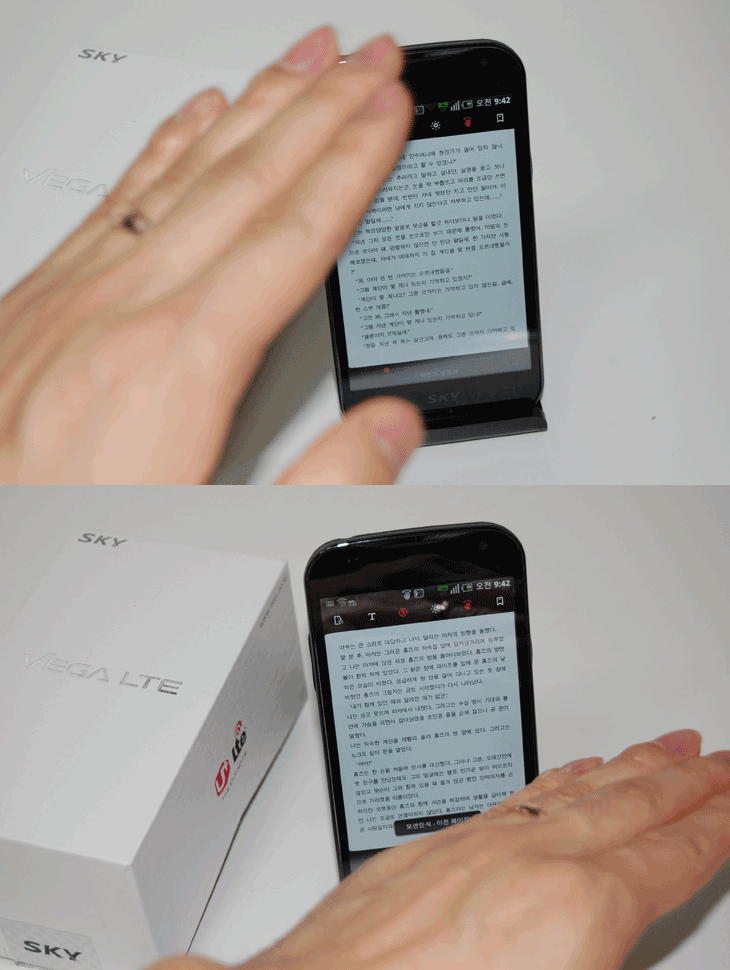
<스마트폰의 손동작 감지 - E-book을 손동작으로 넘기는 모습>
제스처 센서라고 부르지만 손동작뿐만 아니라 컬러도 측정가능하며 추상적으로 센서와의 거리와 빛의 세기도 측정이 가능합니다.
I2C통신으로 아두이노와 데이터 송수신을 하며 온라인에서 2만원대의 가격으로 구매할 수 있습니다.
이번 글에서는 다양한 예제 중 손동작을 감지하는 예제를 실행해 보겠습니다.
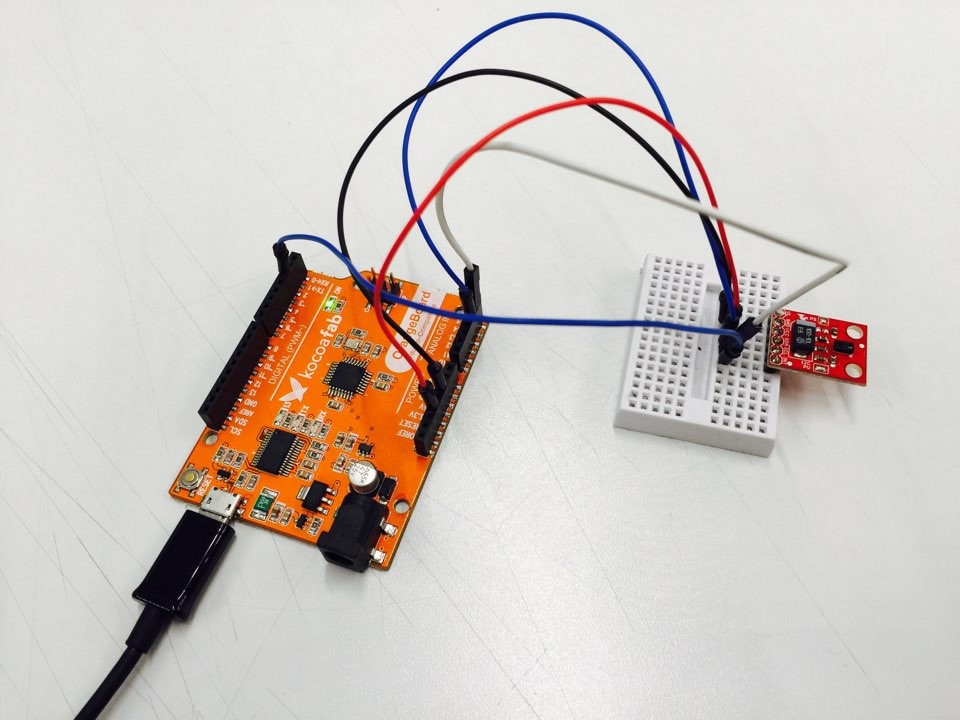
필요한 부품 목록
| No | 부품명 | 수량 | 상세 설명 |
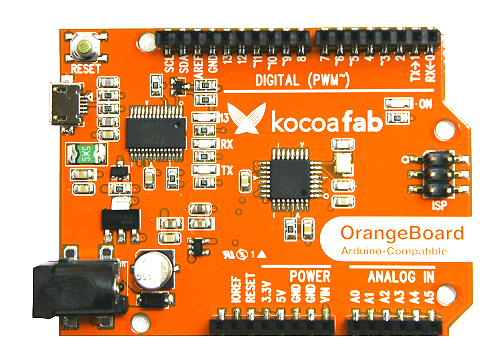
| 1 | 오렌지 보드 | 1 | 아두이노 UNO 호환 보드 |
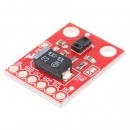
| 2 | 제스처 센서 | 1 | Sparkfun APDS9960 |
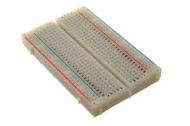
| 3 | 브레드 보드 | 1 | |
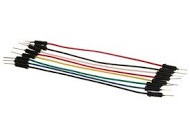
| 4 | 점퍼 케이블 | 5 |
| 오렌지 보드 | 제스처 센서 | 브레드 보드 | 점퍼 케이블 |
 |  |  |  |
하드웨어 making
브레드 보드
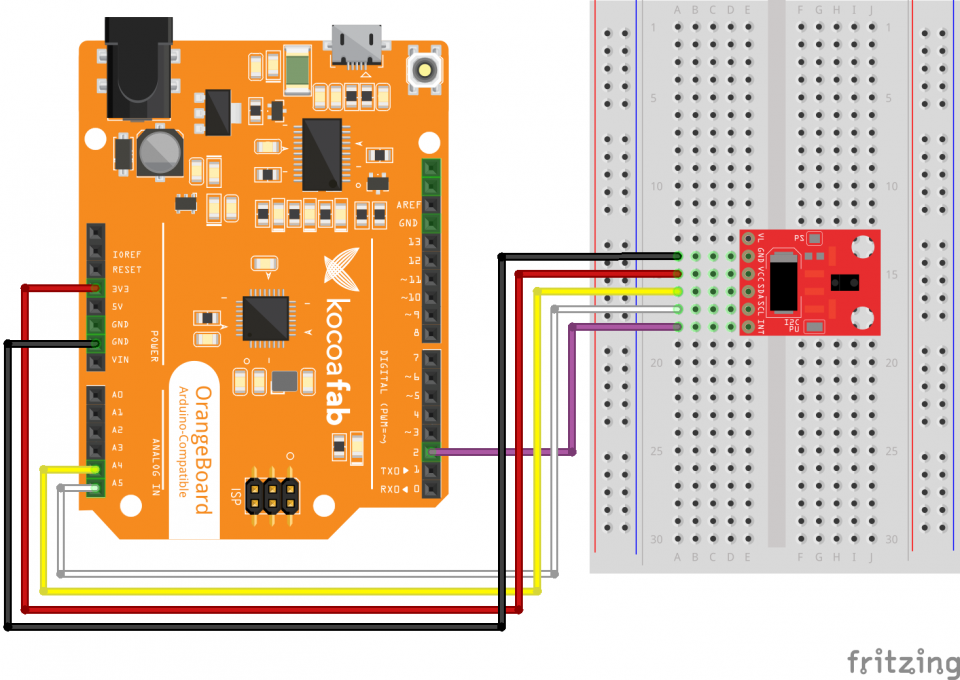
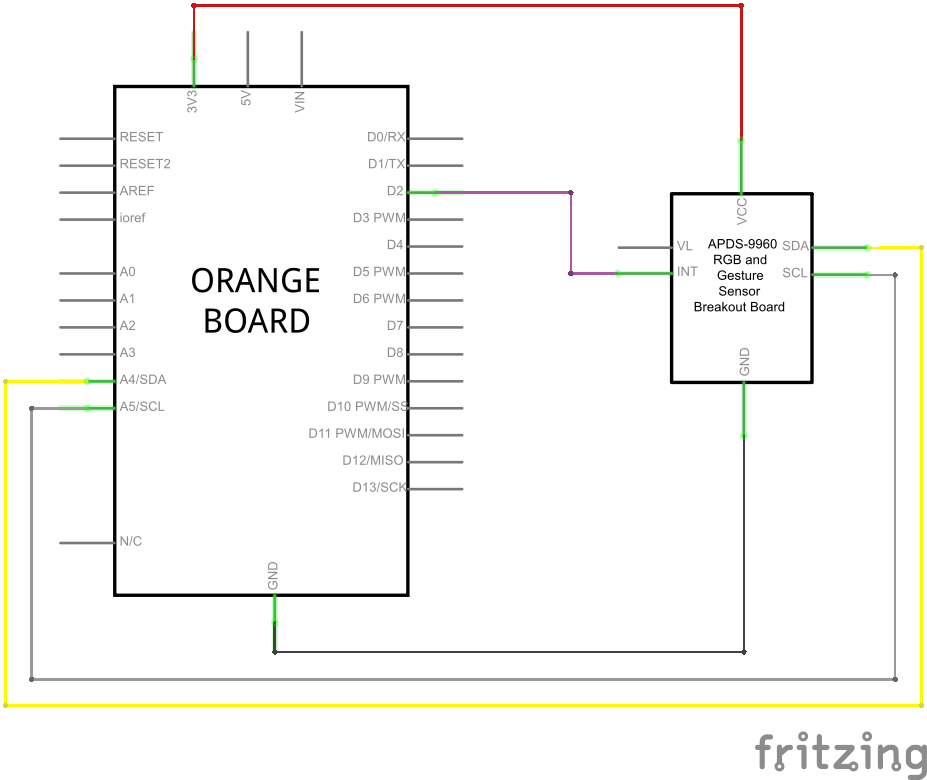
전자 회로도
소프트웨어 coding
/****************************************************************
GestureTest.ino
APDS-9960 RGB and Gesture Sensor
Shawn Hymel @ SparkFun Electronics
May 30, 2014
https://github.com/sparkfun/APDS-9960_RGB_and_Gesture_Sensor

Tests the gesture sensing abilities of the APDS-9960. Configures
APDS-9960 over I2C and waits for gesture events. Calculates the
direction of the swipe (up, down, left, right) and displays it
on a serial console.

To perform a NEAR gesture, hold your hand
far above the sensor and move it close to the sensor (within 2
inches). Hold your hand there for at least 1 second and move it
away.

To perform a FAR gesture, hold your hand within 2 inches of the
sensor for at least 1 second and then move it above (out of
range) of the sensor.

Hardware Connections:

IMPORTANT: The APDS-9960 can only accept 3.3V!

 Arduino Pin  APDS-9960 Board  Function

 3.3V         VCC              Power
 GND          GND              Ground
 A4           SDA              I2C Data
 A5           SCL              I2C Clock
 2            INT              Interrupt

Resources:
Include Wire.h and SparkFun_APDS-9960.h

Development environment specifics:
Written in Arduino 1.0.5
Tested with SparkFun Arduino Pro Mini 3.3V

This code is beerware; if you see me (or any other SparkFun
employee) at the local, and you've found our code helpful, please
buy us a round!

Distributed as-is; no warranty is given.
****************************************************************/

#include <Wire.h>
#include <SparkFun_APDS9960.h>

// Pins
#define APDS9960_INT    2 // Needs to be an interrupt pin

// Constants

// Global Variables
SparkFun_APDS9960 apds = SparkFun_APDS9960();
int isr_flag = 0;

void setup() {

  // Set interrupt pin as input
  pinMode(APDS9960_INT, INPUT);

  // Initialize Serial port
  Serial.begin(9600);
  Serial.println();
  Serial.println(F("--------------------------------"));
  Serial.println(F("SparkFun APDS-9960 - GestureTest"));
  Serial.println(F("--------------------------------"));

  // Initialize interrupt service routine
  attachInterrupt(0, interruptRoutine, FALLING);

  // Initialize APDS-9960 (configure I2C and initial values)
  if ( apds.init() ) {
    Serial.println(F("APDS-9960 initialization complete"));
  } else {
    Serial.println(F("Something went wrong during APDS-9960 init!"));
  }

  // Start running the APDS-9960 gesture sensor engine
  if ( apds.enableGestureSensor(true) ) {
    Serial.println(F("Gesture sensor is now running"));
  } else {
    Serial.println(F("Something went wrong during gesture sensor init!"));
  }
}

void loop() {
  if( isr_flag == 1 ) {
    detachInterrupt(0);
    handleGesture();
    isr_flag = 0;
    attachInterrupt(0, interruptRoutine, FALLING);
  }
}

void interruptRoutine() {
  isr_flag = 1;
}

void handleGesture() {
    if ( apds.isGestureAvailable() ) {
    switch ( apds.readGesture() ) {
      case DIR_UP:
        Serial.println("UP");
        break;
      case DIR_DOWN:
        Serial.println("DOWN");
        break;
      case DIR_LEFT:
        Serial.println("LEFT");
        break;
      case DIR_RIGHT:
        Serial.println("RIGHT");
        break;
      case DIR_NEAR:
        Serial.println("NEAR");
        break;
      case DIR_FAR:
        Serial.println("FAR");
        break;
      default:
        Serial.println("NONE");
    }
  }
}
이 센서를 사용하기 위해서는 라이브러리의 설치가 필요합니다.
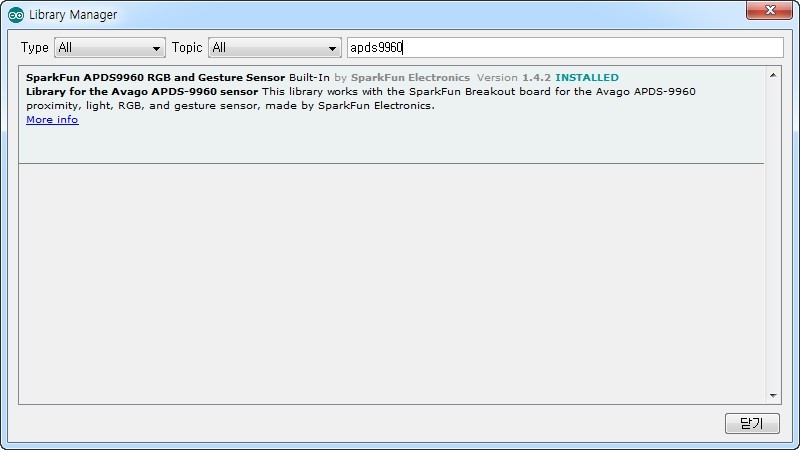
라이브러리는 Sparkfun에서 제공합니다. 아래 링크에서 .zip 파일을 받아 설치할 수 있고 아두이노 스케치 내의 스케치 - Include Library - Manage Libraries에서 APDS 9960을 검색하여 설치할 수도 있습니다.
라이브러리 내려받기 - https://github.com/sparkfun/SparkFun_APDS-9960_Sensor_Arduino_Library/archive/V_1.4.2.zip
스케치 내의 Library Manager를 사용하기 -
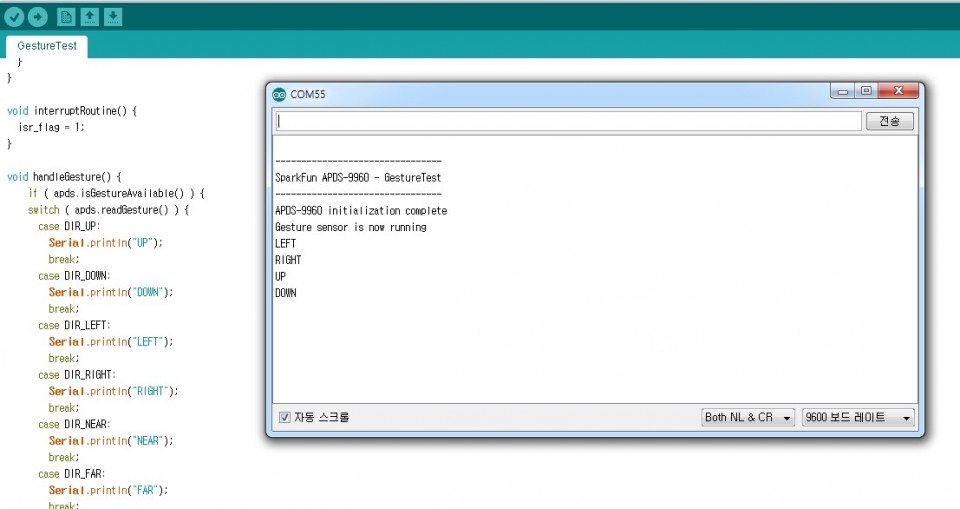
라이브러리를 설치 후 위의 소스를 업로드 시키고 시리얼 모니터를 열고 센서 위에서 손을 움직이면 아래와 같이 손동작의 움직임을 문자로 표현해 주는 것을 확인할 수 있습니다.
'Dev > IOT' 카테고리의 다른 글
| Fritzing 회로 그려보기 (0) | 2019.03.29 |
|---|---|
| Fritzing 소개 및 설치하기 (0) | 2019.03.29 |
| [아두이노] 0.96인치 OLED 디스플레이 모듈 -I2C (0.96 inch 128X64 OLED Module -I2C) 연결하기 (0) | 2019.03.21 |
| [아두이노] Arduino pro mini 3.3V + spy mini camera 연결하기 (0) | 2019.03.08 |
| [아두이노] 프로 미니(Arduino Pro Mini) 업로드(Upload)하기 (0) | 2019.03.07 |
- Total
- Today
- Yesterday
